
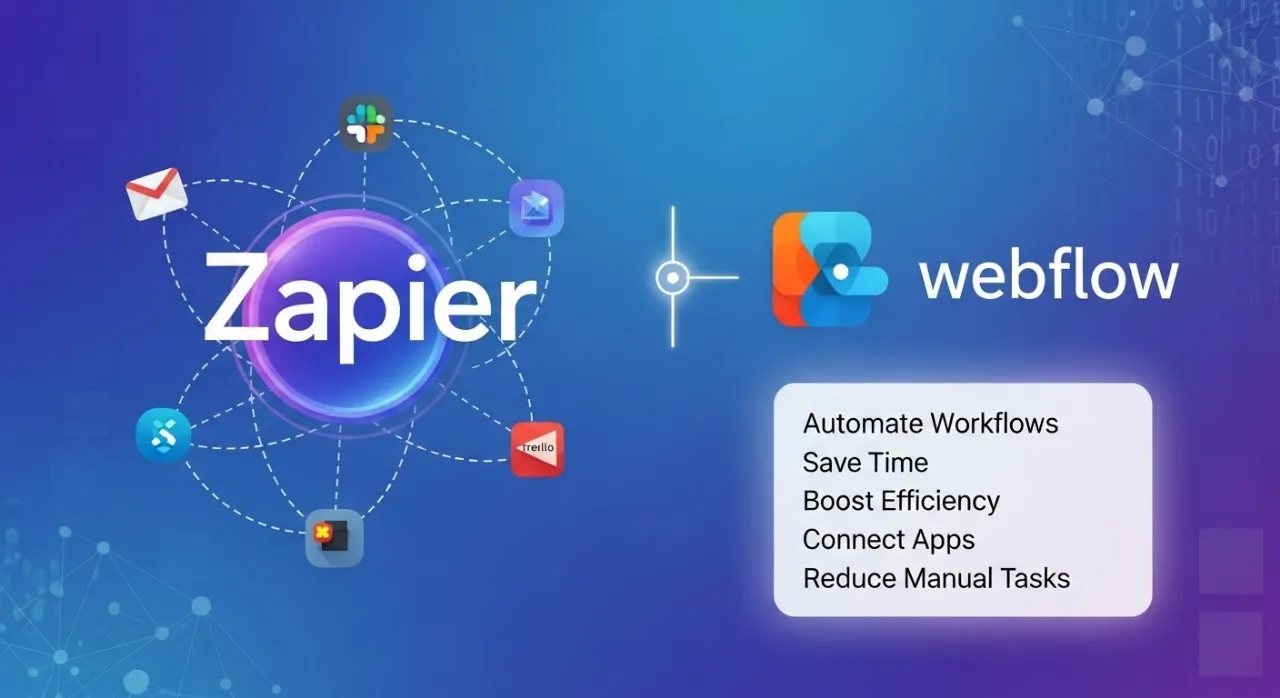
Zapier is one of the most useful tools for connecting apps and automating workflows without code. If you use Webflow to build and manage your website, Zapier opens the door to faster processes, better integrations, and fewer manual tasks. This combination saves you time and gives you more control over how your website interacts with other tools you rely on.
We will be explaining what Zapier is, how it works, and the specific benefits of integrating Zapier with your Webflow website.
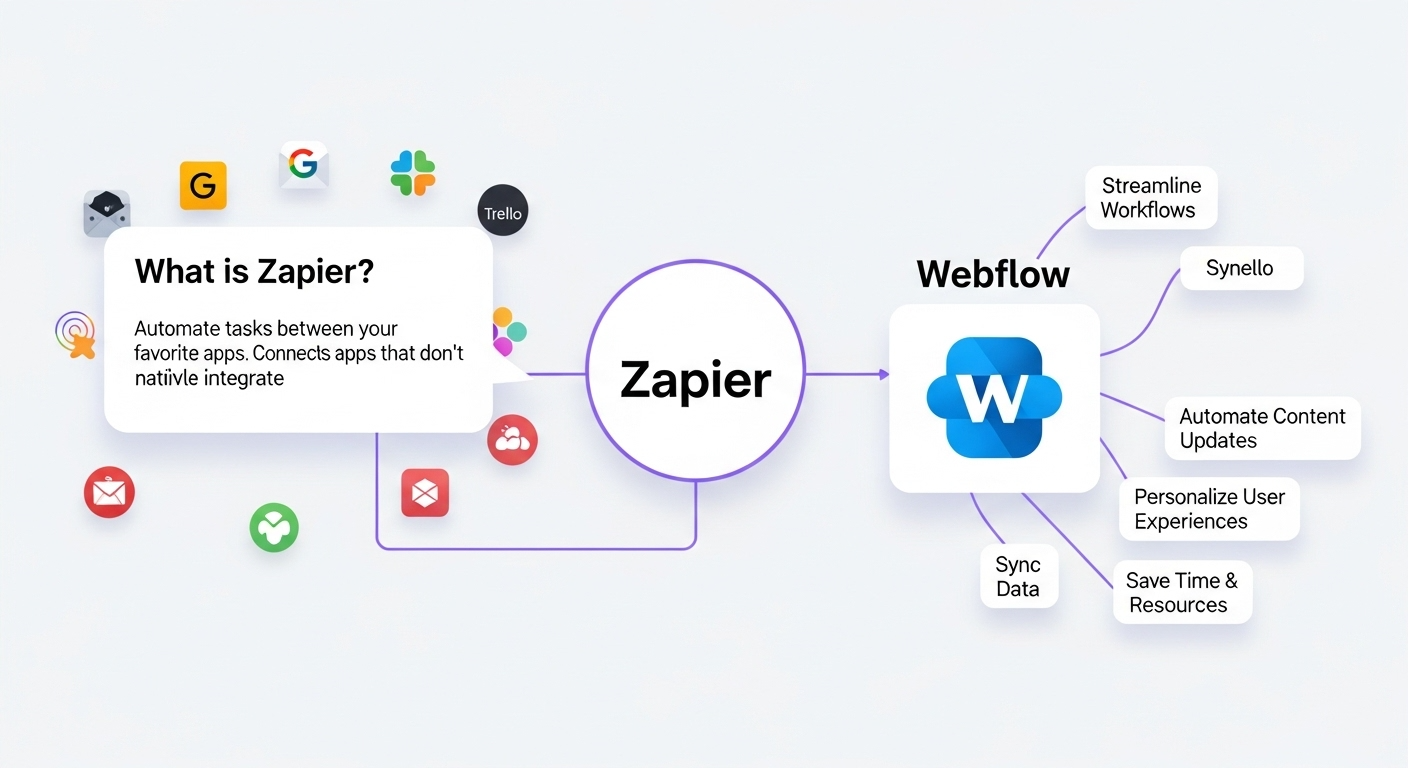
What is Zapier?
Zapier is an automation platform that links over 7,000 apps together. Instead of switching between apps to copy and paste information, Zapier allows you to create automated workflows called “Zaps.” A Zap tells one app to act when something happens in another. For example, when someone submits a form on your Webflow site, Zapier can automatically send the data to Google Sheets, Slack, or your email marketing tool.
This makes Zapier a bridge between tools that otherwise do not connect directly. For Webflow users, it means you can automate many tasks without needing custom code or expensive developers.
How Does Zapier Work?
Zapier works on a simple trigger and action system. You choose a trigger in one app and define what action should follow in another. Once you set it up, the process runs automatically without you needing to touch it again.
- Trigger: An event in one app starts the automation.
- Action: A task in another app runs as a result of that trigger.
For example:
- Trigger: A visitor submits a Webflow form.
- Action: Zapier adds the data to a CRM like HubSpot.
You can also build more advanced workflows called multi-step Zaps. In these, one trigger can start several actions at once. For instance, a Webflow form submission could:
Zapier also allows you to add filters and conditions. This means you can control when actions happen. For example, you could set Zapier to only add leads to a mailing list if the user selects a specific option in your form.
Because Zapier runs in the background, you do not have to worry about missed steps or manual errors. Once the Zap is active, it keeps working while you focus on your business.
Why Integrate Zapier with Webflow?
Webflow is strong at design and content management, but it does not always connect directly with every app businesses use. Integrating Zapier with Webflow fills this gap. You can connect your Webflow website to tools for marketing, sales, customer support, and project management.
The result is less repetitive work, faster data flow, and a more efficient website that interacts with your business tools in real time.
Benefits of Zapier for Your Webflow Website
1. Automate Form Submissions
With Zapier, every Webflow form submission can go directly to tools you already use. Instead of copying form data manually, the information flows into your preferred apps within seconds. For example, you can:
- Send leads to a Google Sheet for tracking and reporting.
- Add new contacts to your CRM for faster follow-ups.
- Notify your sales team in Slack or Teams so they can respond right away.
This ensures no lead is missed, and every inquiry receives timely attention.
2. Streamline Marketing Efforts
Zapier helps you connect Webflow to email marketing platforms like Mailchimp, ActiveCampaign, or ConvertKit. When someone signs up on your site, Zapier automatically places them into the right email list. You can even create rules to segment users based on form responses. This means your audience receives targeted emails, improving engagement and conversions without extra work.
3. Improve Customer Support
If you connect Webflow forms to support tools such as Zendesk or Freshdesk through Zapier, every new request flows into your ticketing system instantly. This eliminates the delay of checking email manually. Your support team can prioritize requests, respond faster, and track customer issues in one place. It improves both efficiency and the customer experience.
4. Sync With Project Management Tools
Zapier integrates Webflow with tools like Trello, Asana, and ClickUp. For instance, if a client fills out a project request form, Zapier can turn that submission into a new task or card in your project board. This keeps your team organized and ensures client requests never slip through the cracks.
5. Keep Data Organized
Manual entry often leads to missing or incorrect data. Zapier removes this problem by syncing information between Webflow and your other platforms. Whether you are tracking sales leads, sign-ups, or customer support cases, the data remains consistent and ready for reporting. This makes it easier to analyze performance and make informed decisions.
6. Save Time and Reduce Costs
Repetitive tasks cost time and money. Zapier takes over these small but constant jobs, saving your team hours each week. By automating processes like form handling, notifications, and data transfers, Zapier reduces operational costs and frees your staff to focus on growth activities such as strategy, design, and customer relationships.
Real-World Examples of Zapier With Webflow
- Lead Management: A Webflow form captures new leads. Zapier sends them to Salesforce, then alerts your sales team in Slack so they can follow up quickly.
- Content Updates: Publish a new blog in Webflow, and Zapier automatically posts the update to LinkedIn, Twitter, or Facebook.
- Event Registrations: Webflow form submissions trigger Zapier to add attendees to Google Calendar and send confirmation emails via Gmail, reducing admin work.
- E-commerce Operations: Zapier connects Webflow to payment processors, shipping tools, or inventory platforms, making order management seamless.
These examples show how Zapier turns a Webflow site into a connected hub that supports marketing, sales, support, and operations.
How to Set Up Zapier With Webflow
Setting up Zapier with Webflow is simple:
- Create a Zapier account at zapier.com.
- Connect Webflow to Zapier by authenticating your Webflow account.
- Choose a trigger like a form submission or a new collection item.
- Select an action in another app, such as sending the form data to Google Sheets.
- Test and activate your Zap to make sure it works as expected.
Once active, the Zap will run automatically without further input.
Key Features of Zapier for Webflow Users
No-code automation: You can set up workflows without writing a single line of code. This makes Zapier accessible to business owners, marketers, and teams without technical backgrounds.
Scalability: You can start with simple automations, like sending form submissions to a Google Sheet, and later expand to multi-step workflows that connect several apps at once. Zapier grows with your business needs.
Wide app library: With over 7,000 apps available, Zapier covers almost every tool businesses use today, from CRMs and email platforms to project management and accounting software.
Multi-step Zaps: Instead of stopping at one action, you can design workflows that trigger multiple actions across different apps. For example, a form submission can add a lead to HubSpot, send a Slack alert, and trigger a welcome email in Gmail at the same time.
Filters and conditions: Zapier gives you control over when actions run. For instance, you can set a Zap to trigger only if the form submission includes a specific field value, keeping your workflows clean and relevant.
These features make Zapier an efficient tool for businesses of all sizes that use Webflow, from solo entrepreneurs to enterprise teams.
Best Practices for Using Zapier With Webflow
To get the most out of Zapier, you need a clear approach. Here are some proven tips:
- Start small: Begin with simple automations, such as sending Webflow form data to a spreadsheet, to get comfortable with the system.
- Test each Zap: Always run tests before activating a workflow. This ensures your data flows correctly and avoids unexpected errors.
- Use naming conventions: Give each Zap a descriptive name. For example, “Webflow Form → Google Sheet Lead Tracker” makes it easy to know what the automation does.
- Review performance: Check Zapier’s task history to confirm that automations are running smoothly. Address any failed tasks quickly.
- Secure your data: Limit app permissions to only what’s necessary, especially if you are handling sensitive customer information.
Following these habits keeps your automations efficient, safe, and easy to manage over time.
Why Businesses Choose Zapier for Webflow
Businesses choose Zapier because it is simple, reliable, and highly adaptable. Small businesses benefit because they avoid hiring developers to build custom integrations. Larger companies gain value from reduced manual work, faster processes, and better cross-team collaboration.
Another reason teams prefer Zapier is flexibility. Since it integrates with thousands of apps, businesses do not have to switch tools to fit within Webflow. Instead, they can connect their existing tools to Webflow through Zapier and continue working the way they prefer.
This balance of simplicity and power makes Zapier a trusted solution for organizations looking to improve how their Webflow sites connect with the rest of their operations.
Final Thoughts
Zapier provides Webflow users with a way to connect their website to the tools they rely on every day. From automating form submissions to managing leads, Zapier ensures that data flows smoothly between apps without extra effort. If you want your Webflow website to be more efficient, integrating Zapier is one of the smartest steps you can take to enhance its functionality.
By using Zapier thoughtfully, you reduce errors, save time, and make your website a stronger part of your business.
Frequently Asked Questions (FAQs)
1. What is Zapier used for in Webflow?
Zapier connects Webflow to thousands of apps. It automates tasks like sending form submissions to Google Sheets, adding leads to a CRM, or notifying your team in Slack.
2. Do I need coding skills to use Zapier with Webflow?
No. Zapier is designed for non-technical users. You can build automations by selecting triggers and actions in a simple interface.
3. How many apps can I connect with Webflow using Zapier?
Zapier supports over 7,000 apps. This means you can connect Webflow to marketing, sales, support, project management, and more.
4. Is Zapier free to use with Webflow?
Zapier has a free plan with basic features. For more complex workflows and higher usage limits, paid plans are available.
5. What are the most common Zapier automations for Webflow?
Popular automations include sending form submissions to CRMs, creating tasks in project management tools, adding contacts to email lists, and posting new content on social media.
6. Is Zapier secure for my Webflow website?
Yes. Zapier uses encryption and security best practices to protect your data. Still, you should limit app permissions and review security settings for sensitive workflows.


.svg)
.svg)
.svg)
.svg)
